The feature of Security Group in the Dynamics 365 Online deployment has been there for a while. However, I often find either people do not understand it correctly or this feature is not being considered as an important “checklist item” for a smooth deployment. So, in this post I will share some reasons on why we need to plan setting up the security group.
To support the example, I’ve set up the following scenario:
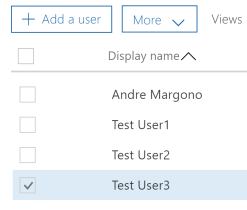
In my instance I have 4 users:
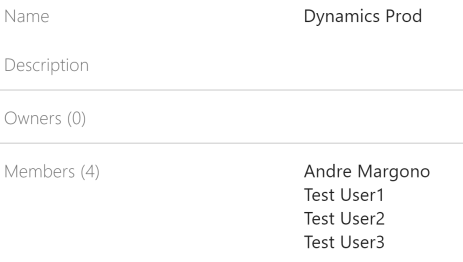
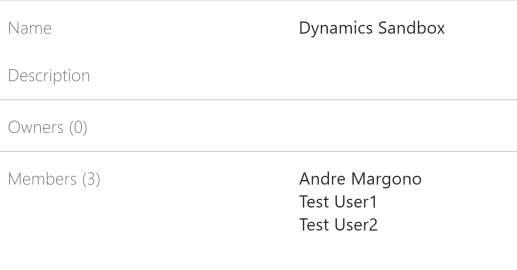
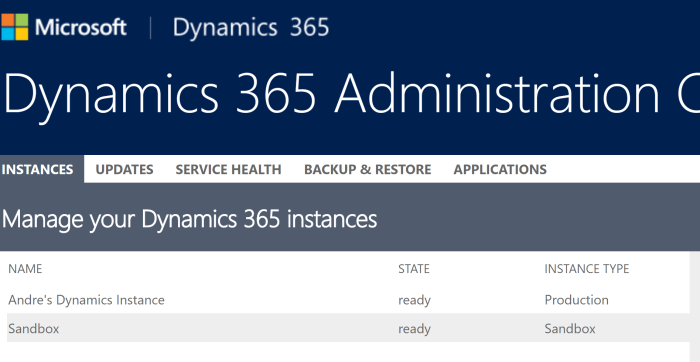
And 2 Security Groups for Production and Sandbox

Where in Production, everyone is the member of the group:
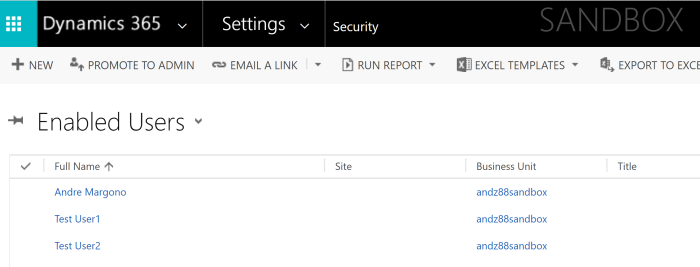
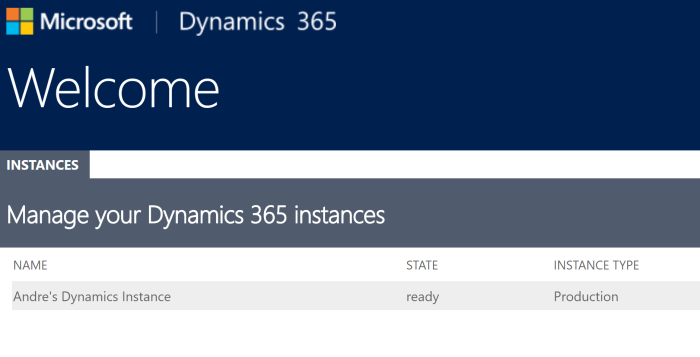
While in Sandbox, Test User 3 should not access the environment
Now, let’s begin with the reasons why we need to implement Security Group.
#1 For Authorisation Purpose
In typical Dynamics 365 implementation, there will be multiple instances, such as DEV, TEST, UAT and PROD. When the instance has been associated with the security group, only users that are member of the security group can access the environment. The traditional way to restrict access by not assigning the security role to the users is still viable, but this leads to the reason #2 below.
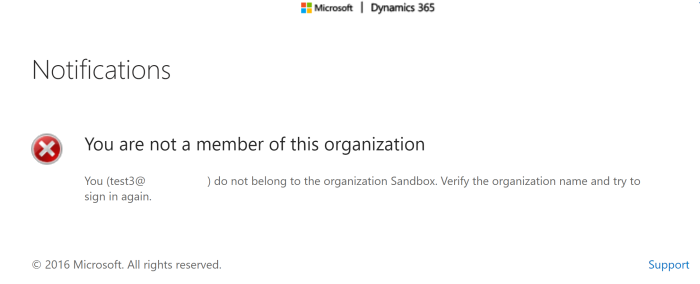
The difference on the error message would be as follow:
- Not assigned with the security role
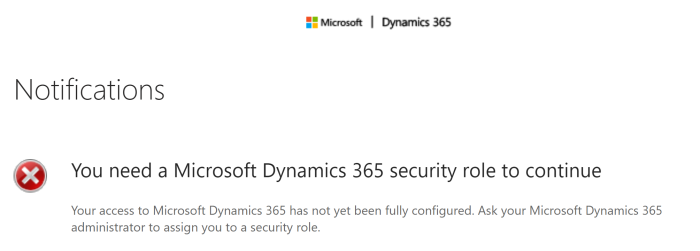
- Not part of the Security Group
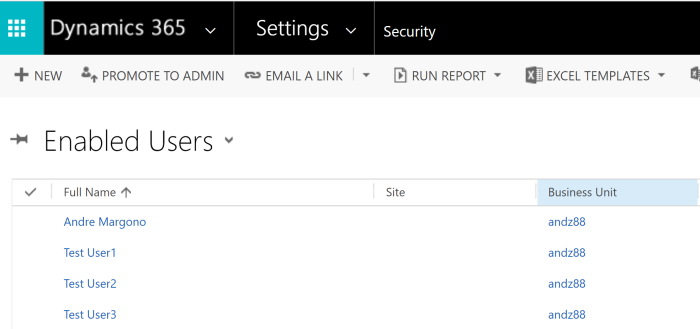
#2 To Keep Users in the Instance Clean
On top of the first point, to prevent the users to access the environment, having security group configured for the environment will also prevent the users that are not part of the security group to be synchronised with the environment.
A thought come into my mind: it won’t harm right to have the users synced. As long as, we are not assigning the security role to them. Yes, it’s true from the authorisation perspective. However, having them in the environment that they are not supposed to be, also means they will be under the list of “Enabled User” that can be used in selection when assigning records. In multi-organisations deployment, it also means the user from different organisations are visible to the environment. These situations could cause confusion to the users.
The list from Production environment:
The list from the Sandbox environment:
#3 To Hide Unnecessary Items at the Apps List/Instance Picker
With the “App” concept in Dynamics 365 Online, the home.dynamics.com will contain all kind of “Apps”. This includes the Apps that deployed within the instances. When a user have the privilege to access multiple instances, they also will see the “Apps” that are deployed in those instances. IMHO, it is always the best approach to hide anything that users should not see, so that they could focus on what they need to do with the system.
For example, my user that has full access to all environments, could see the following:
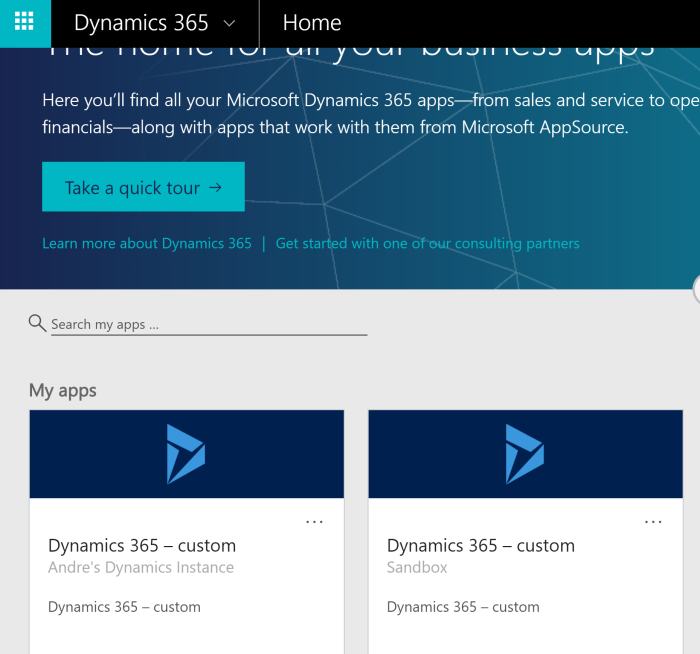
Meanwhile, the Test User 3, can only see 1 “App” that is associated to the instance that this user has access (controlled via the Security Group).
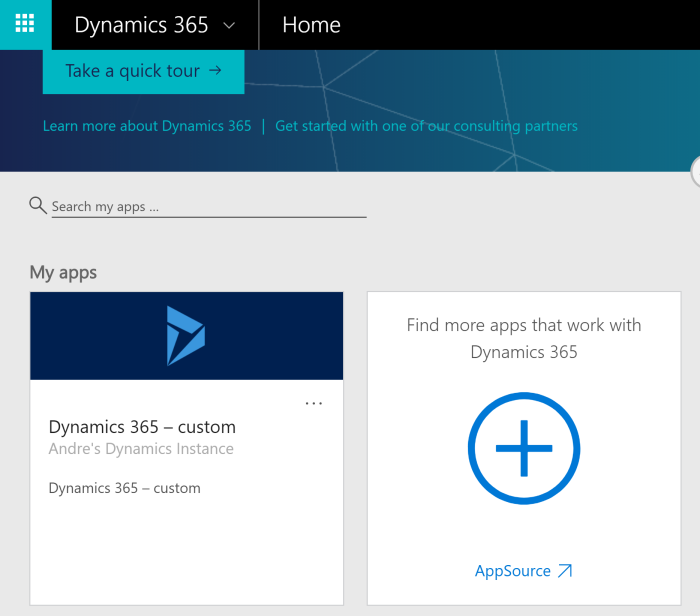
The same thing with the Instance Picker (this has been superseded by the home.dynamics.com). However, if users might have bookmarked this page.
The following is the list from my user:
Meanwhile, this is from the view of Test User 3.
Conclusion
Implementing Security Group for Dynamics 365 implementation should be considered in the design and planning to ensure proper and robust security and user experience.
Hope this helps!
References
https://blogs.msdn.microsoft.com/crm/2017/03/30/my-apps-on-home-dynamics-com/

[…] time ago, I published a blog post about a tip about using Security Group in Dynamics 365 Online Deployment. And I’ve got a […]